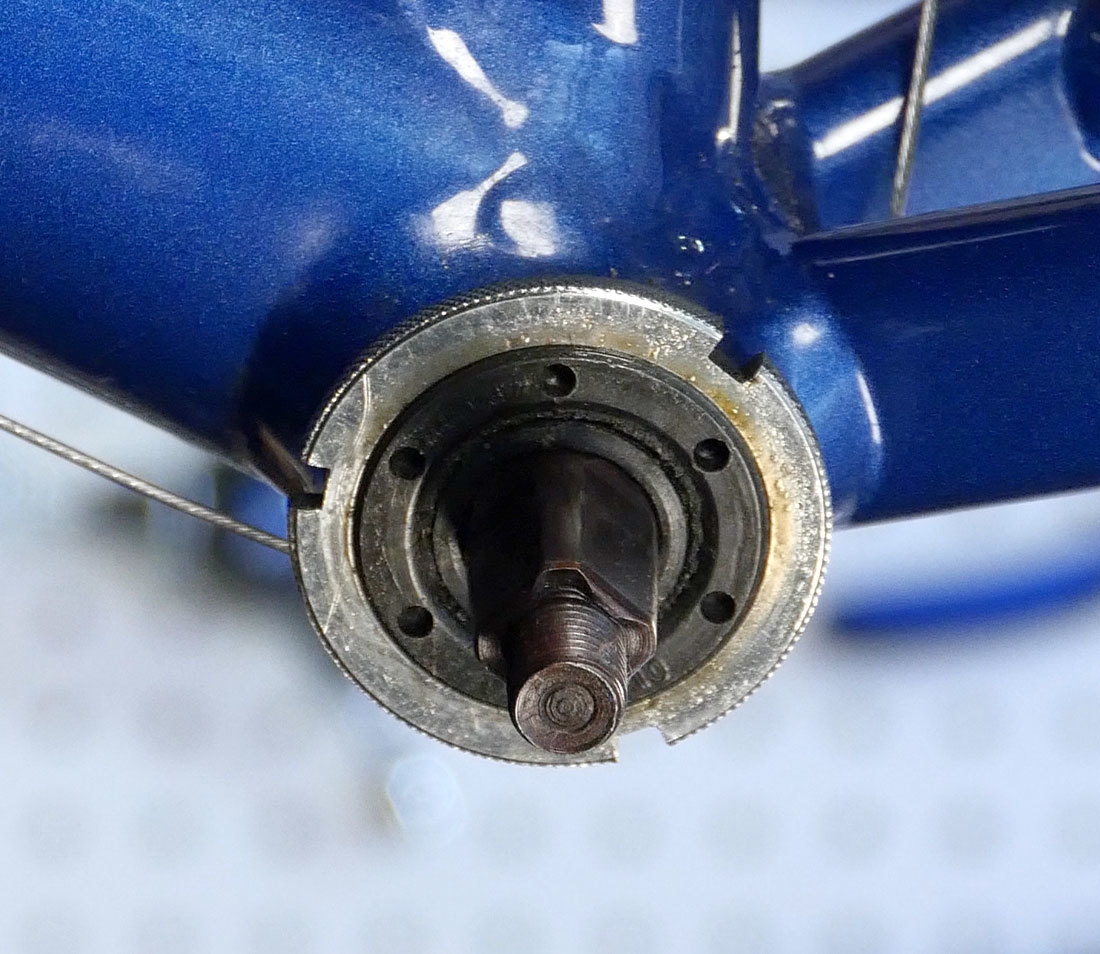
Even the best at-home bike mechanics get a little skittish around bottom brackets. The number of bottom bracket standards is dizzying and the number of proprietary tools needed to remove bottom brackets is downright inhibitive. For new riders or old hands that need a refresher, here’s what you need to know about your bike’s bottom bracket.
The Bottom Bracket – What It Is
The bottom bracket is an important bike component that serves to connect your crank and integrate your cranks with your bicycle frame. It is essentially a sleeve to house bearings that allow you to pedal smoothly.
How Often Should a Bottom Bracket Be Serviced?
Older bottom brackets were designed to be regreased or lubricated multiple times as a part of regular bike maintenance. Today, most bottom brackets are designed to be replaced once worn out. Most bottom brackets last for thousands of miles, which is typically 1-2 years for many riders. However, you may need to replace your bottom bracket more often if:
- It is exposed to moisture
- You often ride in dirt or mud
- You hear creaking
- It was improperly installed
What Kind of Bottom Bracket Do I Have?
The most common bottom bracket standards fall into one of three categories:
- PressFit
- Threaded
- Thread-Together
If your bike is less than 10 years old, it’s a good guess that you have one of these three bottom bracket standards. However, that’s just the tip of the iceberg. Bottom brackets have different widths based on the kind of bike you’re riding and different component manufacturers require different tools for removing (or pulling) your cranks.
The easiest way to find out what kind of bottom bracket you have is to refer to your bike manufacturer’s website. If that doesn’t help, we’ve got a few ways to identify your bottom bracket.
PressFit Bottom Brackets
Sometimes called “unthreaded”, PressFit bottom brackets use a smooth shell to slide into the frame. A “cup” slides into the bottom bracket shell and pressed together. In nearly every case, no visible tool fittings peek out from shell or the frame itself.
PressFit tends to be more common in carbon frames.
PressFit Bottom Bracket Removal and Installation
Threaded Bottom Bracket
Threaded Bottom Brackets are making a comeback! Many bike techs divide this category further into adjustable cup-and-cone, cartridge-style, and external bearing systems.
In each of these categories, the bottom bracket relies on threads to tighten. Most modern bikes (think the past decade) utilize the external bearing system. This relies on both the bottom bracket shell (the bike frame) and the bottom bracket cup to thread together.
Threaded Bottom Bracket Removal and Installation
Thread-Thru
While very similar to PressFit, Thread-Thru or Thread-Together bottom brackets combine a smooth, non-threaded shell and threaded cups. Instead of threading into the frame, thread-thru bottom brackets thread into themselves, connecting the right and left cup together inside the smooth bottom bracket shell.
Thread-Thru Removal and Installation
How to Remove a Bottom Bracket
Each bottom bracket system requires a slightly different process for removal. To make it even more complex, different bike component manufacturers use different standards and tools for crank removal.
- 1.First, identify your crank manufacturer. You may simply need an 8 or 10 Allen wrench, though sometimes proprietary tools are required.
- 2.Next, with the crank removed, use the correct size bottom bracket tool to remove the bottom bracket cup. Turn until the cup is completely free.
- 3.Press out both cups.
When in doubt, contact your local bike shop for help with bottom bracket identification and replacement.
Build Your Own Bike Service Course
Looking to do it yourself? Get the tools and keep them organized with the Pitcrew Package, which includes a full Park Tool kit!
Questions? Let us know how we can help!


